Turn travel ideas into journeys clients want to book.
Building Itineraries is the core of Wetu Academy, and the longest course in the programme. Across all six Itinerary Builder steps, you will turn a simple enquiry into a structured, priced, richly detailed itinerary that is ready to sell, confirm and travel with To earn your badge, pass the assessment with 80% or higher.
By the end of this course, you will be able to:
Set up an itinerary's name, pricing and traveller details in Step 1.
Add accommodations, room details, day grouping and overnight travel in Step 2.
Build a transport route, customise driving routes and use flight lookup in Step 3.
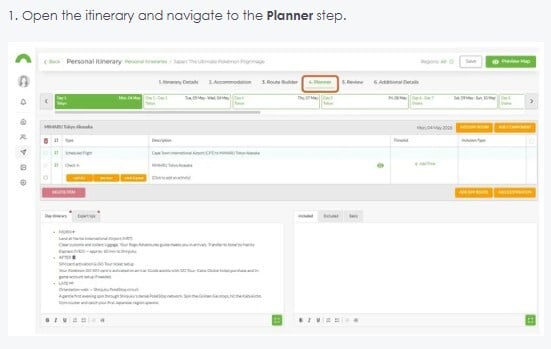
Add activities, set inclusion types and write day notes in Step 4.
Review pricing, travel details and daily content before sharing in Step 5.
Add an introduction, landing page media and share the right output in Step 6.
Why this course matters
An itinerary is a sales tool, an operational record and part of the traveller experience, all at once. Building it well means the offer is clear, the structure holds up when a client changes their mind, and the traveller experience feels considered rather than assembled at the last minute.
How to work through this course
The course is split into topics, and every topic covers one specific part of Wetu. For each topic, follow these steps in order:
Open Wetu in a split screen and work side by side in the software as you go.
Applying each topic as you learn it is what makes it stick.
Time to get serious
We've laid the topics out in a logical sequence to match how you'd naturally move through Wetu, but jump ahead or double back whenever it's useful to you.
Good names, references, traveller information and tags make work easier to find and manage later.
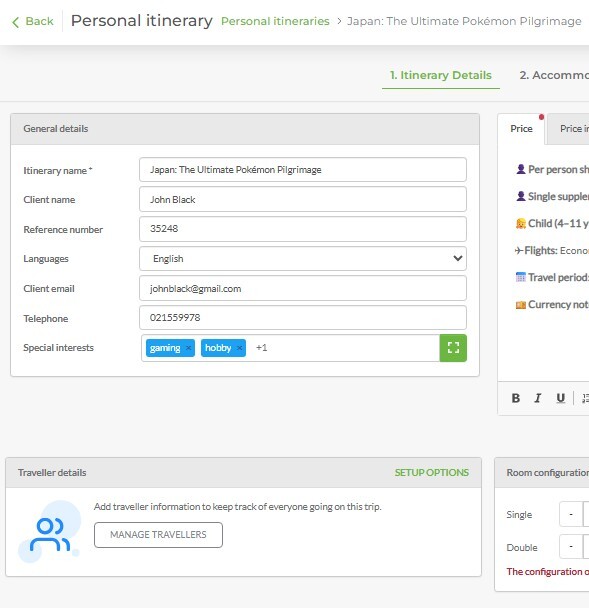
Every itinerary starts here, and the choices you make in this first step follow it for the rest of its life. This topic shows you how to set the itinerary name, the only field that's actually mandatory, along with the reference number, lead traveller and any special interest tags. Fill these in properly from the start, and finding this itinerary again in a busy account becomes effortless rather than a guessing game.
Try it: Create a practice itinerary with a meaningful name, reference and lead traveller.
Clear rates, inclusions and exclusions help the client understand the proposal and reduce avoidable queries.
This is where the money gets said out loud, so it needs to be unmistakable. This topic covers adding rates, whether flat, per person, or broken down by season, along with clear Price Includes and Excludes so the client knows exactly what they're paying for and what they're not. A little structure here, bullet points rather than dense paragraphs, saves you from fielding the same "is this included?" question later.
Try it: Add fictional pricing plus at least two inclusions and exclusions.
Keep consultant and traveller context with the itinerary so ownership and client information stay visible.
An itinerary without a clear owner or a clear traveller is harder for anyone to pick up and run with. This topic shows you how to add your own contact details as the consultant and the traveller names attached to the trip, so ownership and client context stay visible at a glance. One thing worth knowing upfront: the Booking Enquiry Link sits off by default, so if you want it active, that's a quick conversation with Wetu rather than something buried in settings.
Try it: Add a practice consultant and traveller, then preview the Step 1 information.
Build faster with structured property content and know when to request missing shared content.
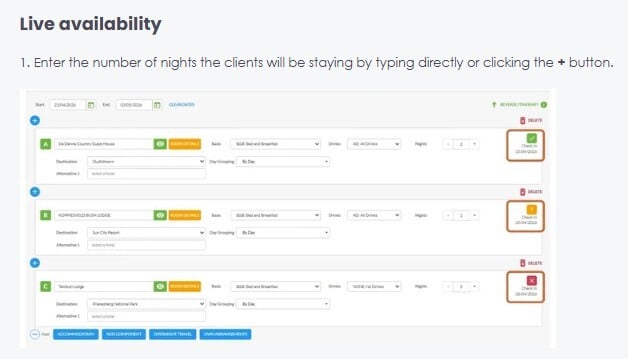
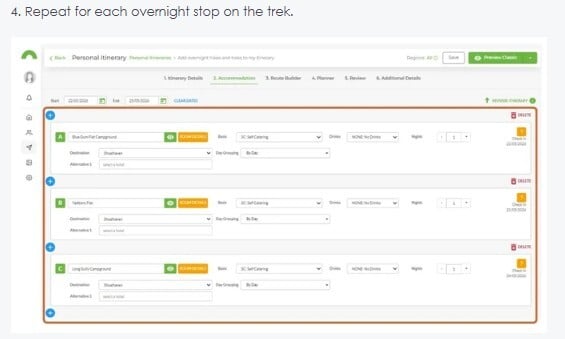
Accommodation is usually the backbone of a trip, and you rarely need to build it from nothing. This topic shows you how to search and add land-based properties straight from the Wetu database, hotels, lodges, camps, and lean on Product Manager for quick access to places you've used before. If a property genuinely isn't there yet, Request Content doesn't just solve it for you, it adds that supplier to the shared database for every operator who searches next.
Try it: Add at least one property to the practice itinerary.
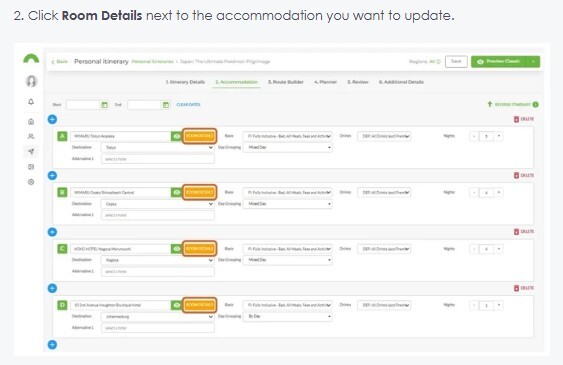
What a client should see changes depending on where they are in the buying journey, and room details are a perfect example. This topic shows you how to configure room types and booking references, and how the "only display selected rooms" setting controls what's visible. Leave it unticked while you're still selling, so clients see their options, then tick it once the booking's confirmed, so only what they actually booked shows.
Try it: Add room information and test selected-room display behaviour.
Choose a structure that fits the product and reduces repetitive content.
Not every trip moves the same way, and the itinerary shouldn't be forced into one shape regardless. This topic covers day grouping, By Day for a trip with something different happening every night, By Destination for a longer stay in one place, or Mixed for the trips that genuinely need both. Get this fundamental setting right early, and everything you build afterwards falls into place with far less repetition.
Try it: Apply the grouping that best suits your practice itinerary.
Handle flights, trains or vessels that cross midnight without distorting accommodation and trip dates.
A flight or a train that crosses midnight can quietly throw off every date that follows it if it's handled the wrong way. This topic shows you how Overnight Travel adds that extra night without needing an accommodation attached to it, carrying the route's start and end points through automatically. It's a small feature solving a problem that would otherwise cause real confusion further down the itinerary.
Try it: Add a fictional overnight journey or review where it would be used.
Build a clear route without wasting time on detail that is not yet confirmed.
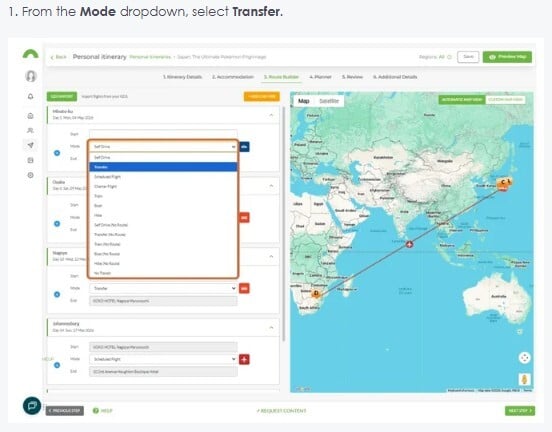
A trip isn't just where you stay, it's how you get there, and clients notice when that part feels vague. This topic shows you how to add flights, self-drives, transfers and car hire to connect each day of travel, with every transport icon ready for you to add detail behind it as things firm up. During an early proposal, that's exactly the point: add the mode now, fill in the specifics once the booking's real.
Try it: Add one transport segment.
Add meaningful stops and route detail that help the traveller understand the journey.
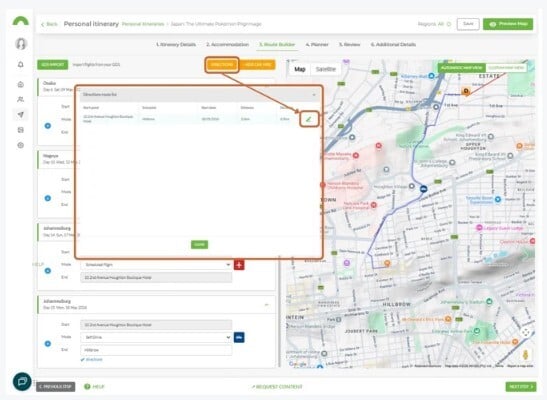
An auto-generated driving route gets you started, but it rarely tells the whole story of the journey. This topic shows you how to customise those routes, adding intermediate stops, adjusting directions for self-drive clients, even drawing a custom route manually where the default doesn't fit. The same tools work for hiking trails, boat routes and train journeys too.
Try it: Add or review an intermediate stop.
Use structured flight data once dates and flight details are known.
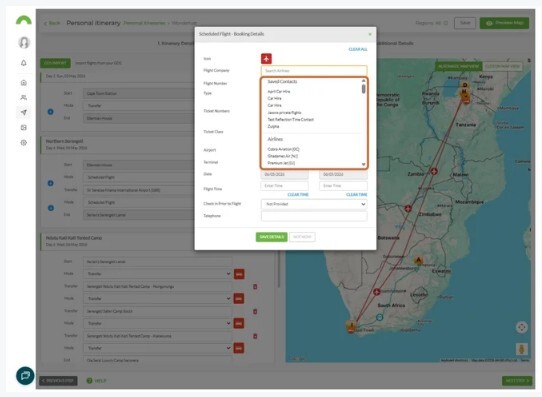
Flight numbers and times are exactly the kind of detail you don't want to type out by hand if you don't have to. This topic shows you how Flight Lookup pulls that data straight into the booking automatically, once you actually have it. During quoting, that information usually isn't confirmed yet, so this is very much a "once the booking's real" step, not a day-one one.
Try it: Practise flight lookup using a training example where available.
Capture unique or operator-specific experiences when standard content is not available.
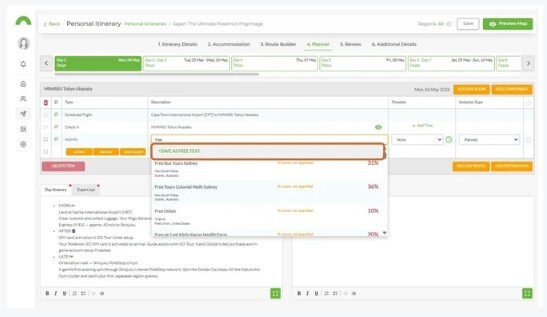
Some experiences are genuinely yours, a guide only you work with, a moment only your business offers, and there's no reason they should be left out just because they're not in the Wetu database. This topic shows you how to add a free-text activity, a custom description you write yourself, for exactly those bespoke or one-off moments.
Try it: Add one fictional free-text activity.
Use existing descriptions, imagery and location information instead of recreating them.
Not everything needs to be written from scratch, and pre-loaded activities are there so you don't have to. This topic shows you how to search the Wetu database and drop existing activities straight into your planner, descriptions, imagery and location data all included.
Try it: Search for and add one pre-loaded activity.
Help clients distinguish what is included, recommended or available at additional cost.
Clients read the fine print on what's actually included, and this is where you make sure there's nothing to misread. This topic shows you how to set each activity as Planned, Recommended or Optional, so it's immediately clear what's covered, what's suggested, and what's a paid extra.
Try it: Apply suitable inclusion types to activities in the practice itinerary.
Remove gaps and confusion between activities within a single day.
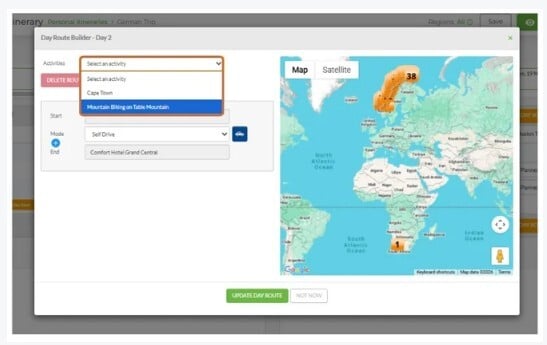
A day full of great activities can still feel disjointed if the traveller can't picture getting from one to the next. This topic shows you how Day Routes map that movement, a transfer, a charter flight, even a short cruise, so the day reads as one continuous experience rather than a list of separate bookings.
Try it: Add a route between two daily activities where relevant.
Turn the schedule into a traveller-friendly narrative and set expectations.
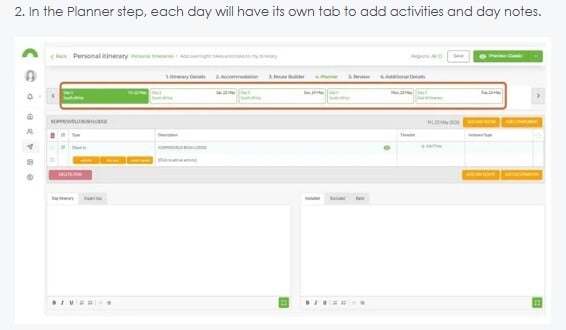
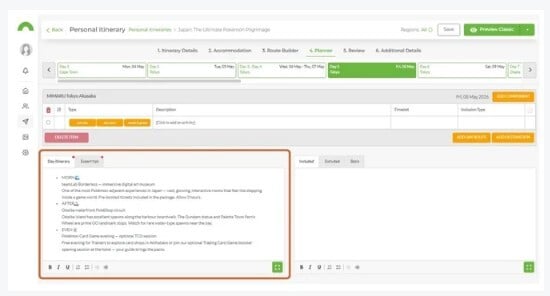
A schedule tells a traveller what's happening, but a day note tells them why it's worth looking forward to. This topic shows you how to add narrative day-by-day notes that turn a list of bookings into something that actually reads like a trip.
Try it: Write a short day note for one day.
Catch incorrect names, client details, room configurations and accommodation information before sharing.
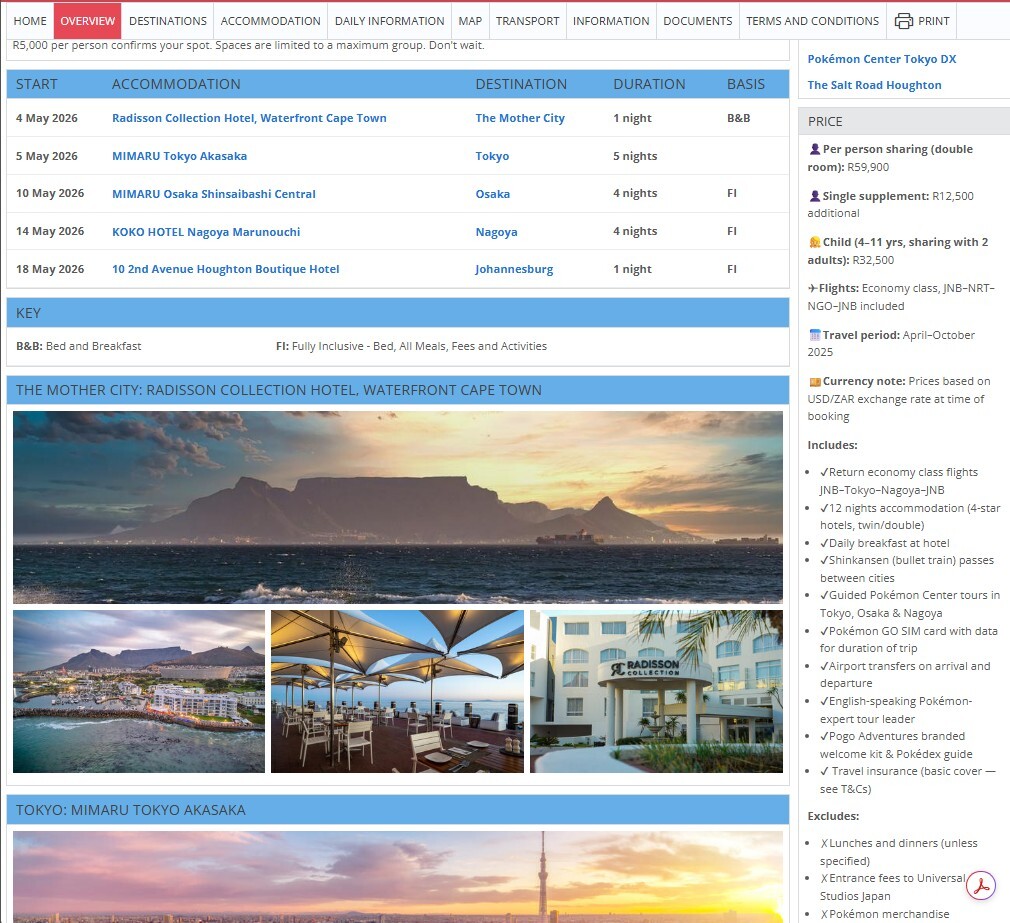
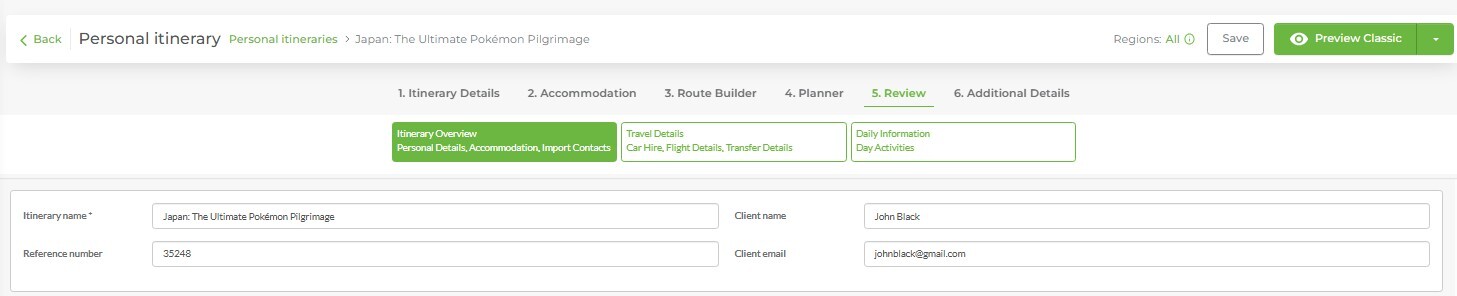
This is the moment to catch the small mistakes before your client does. This topic walks you through the Itinerary Overview, checking the itinerary name, client details, room configurations and accommodation information all in one pass, with blue ticks confirming what's complete and pencil icons showing you exactly where to fix it.
Try it: Review the itinerary overview and correct one issue if you find it.


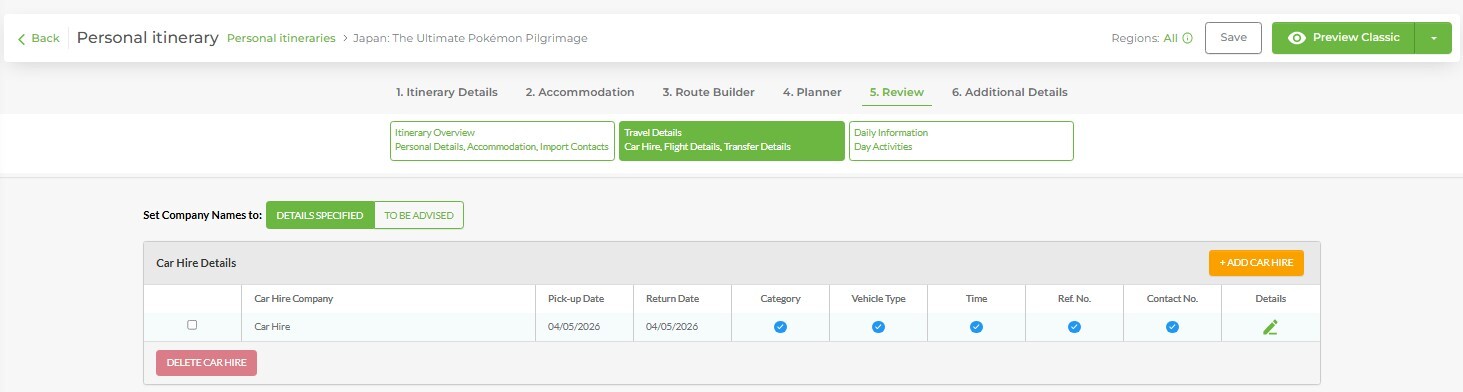
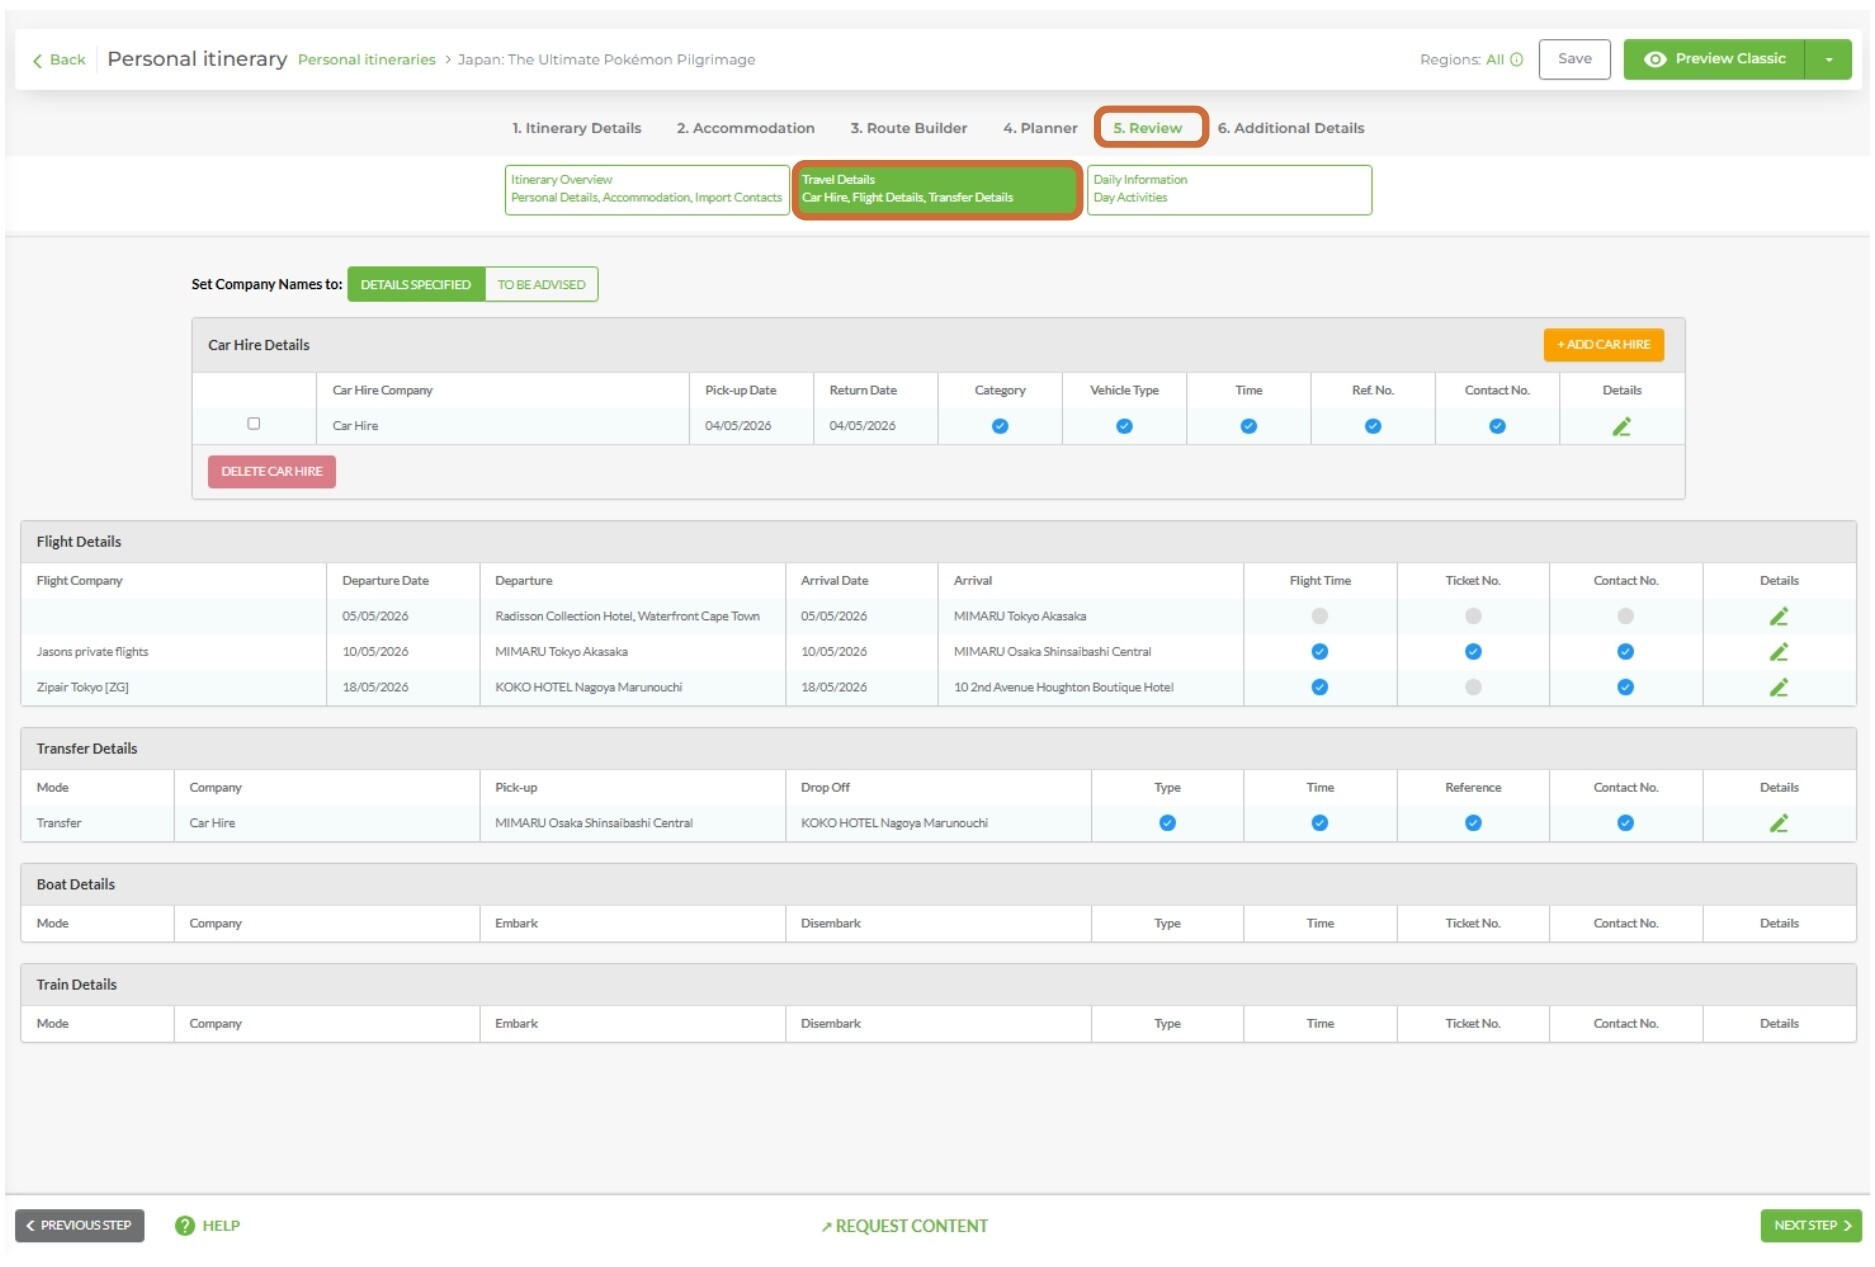
Confirm routes and transport information are accurate before the itinerary reaches the traveller.
Getting the accommodation right doesn't mean much if the flights or routes underneath it are wrong. This topic shows you how to review all transport information, flight details and route accuracy, before the itinerary goes anywhere near the traveller.
Try it: Review transport and route accuracy.
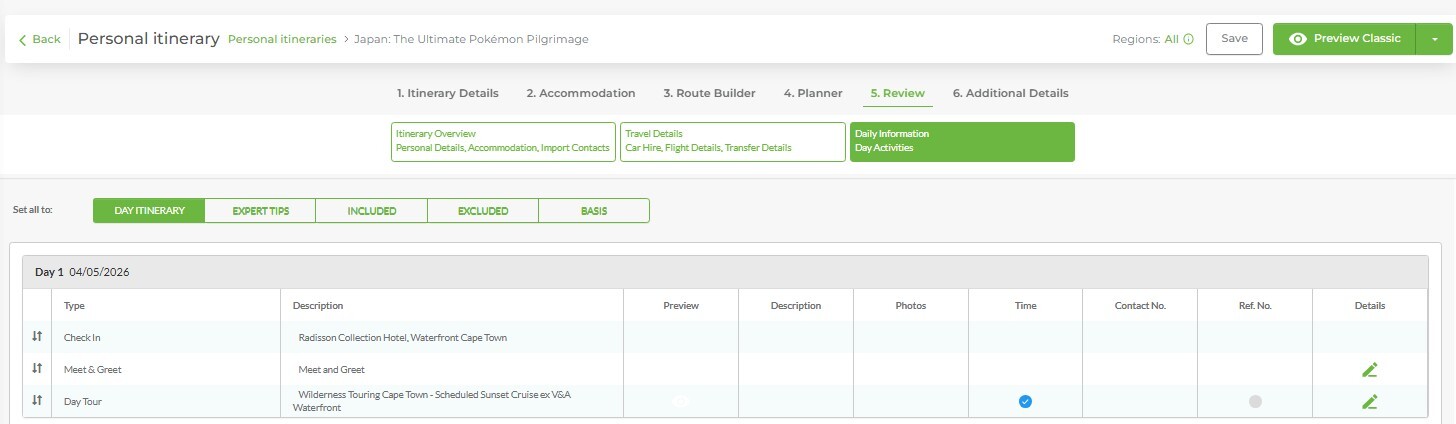
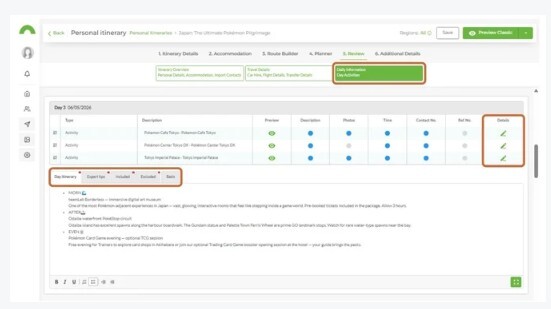
Check that activities, inclusion types, day routes, day notes and destination content tell a complete story.
All the day-by-day work you've put in only lands if it reads well from the traveller's side, not just yours. This topic is your final pass through the Daily Information, checking that everything genuinely tells a complete, coherent story rather than a set of disconnected pieces.
Try it: Review one full day from the traveller perspective.
Set tone, add practical support material and prepare the itinerary for delivery.
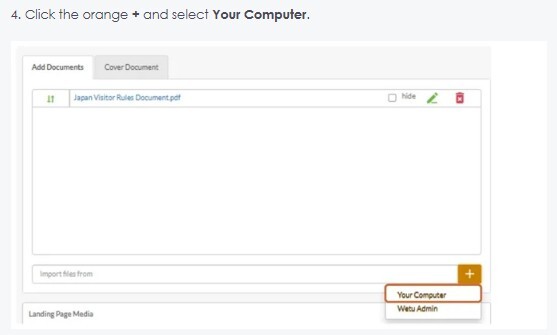
Before a traveller reads a single day of their itinerary, they read your welcome, and that sets the tone for everything after it. This topic shows you how to add an introduction message and attach the practical documents, visa information, health and safety guides, that clients need close at hand rather than chasing down separately.
Try it: Add a short introduction to the practice itinerary.
Use imagery or video intentionally on the itinerary landing page.
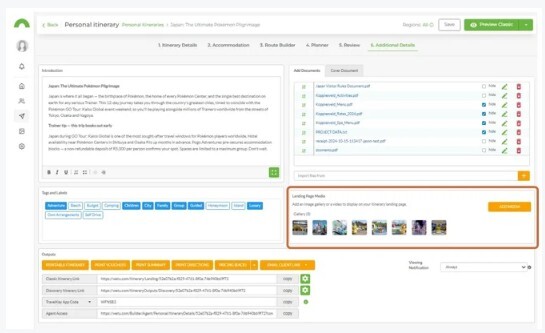
The landing page is the very first thing a client sees when they open your itinerary, before a single day of content. This topic shows you how to customise it with hero images or video, so that first impression feels considered rather than left to whatever loaded by default.
Try it: Add or review landing-page media.
Match the output to client need and travel stage, and share the client link appropriately.
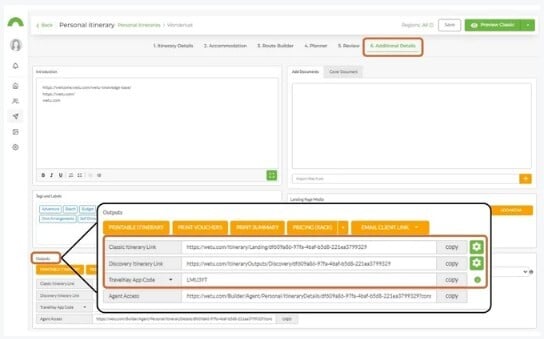
Discovery, Classic, TravelKey, Printable, Vouchers, Wetu gives you several ways to share a trip, and picking the right one for the moment matters. This topic walks you through what each output is built for, plus one detail that's easy to get wrong: always share the client link, not the preview link, since only the client link actually tracks engagement.
Try it: Preview the itinerary in at least two output formats.

Give travellers access to their itinerary, documents, directions and supplier contacts from their phone, with or without a connection.
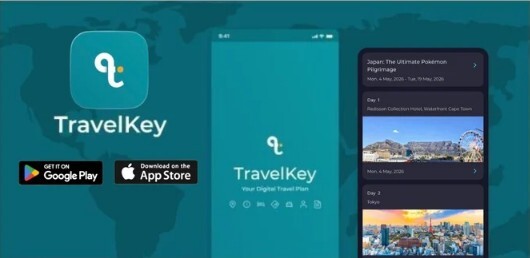
Once a traveller is on the road, they need their itinerary in their pocket, not sitting in an inbox they might not have signal to check. This topic shows you how to generate a TravelKey code, giving them documents, directions and supplier contacts right from their phone. One detail worth remembering: the App Code isn't included in any other output automatically, that's by design, keeping supplier and contact details shared only when you mean to share them.
Try it: Generate a TravelKey code on the practice itinerary and check what the traveller can access from it.
Complete the course. Earn your badge.
Share your feedback
Two minute survey